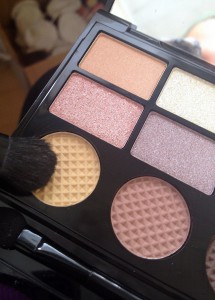
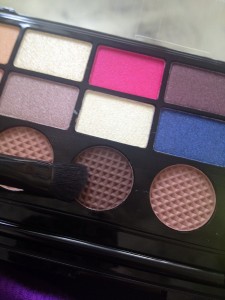
I thought I would make a start on my Weekend Look pictorials this week but couldn’t for the life of me decide what to do. I remembered I had the gorgeous new palettes from Makeup Revolution to play with and the one that was really calling to me was the Dia De Los Muertos one. It is also my local carnival this evening so, with that in mind and the DDLM palette in hand, I decided to create a Carnival inspired look.
Whenever I think of carnivals I think of fun and lots of bright colours, and this is what I decided to apply to my make up:
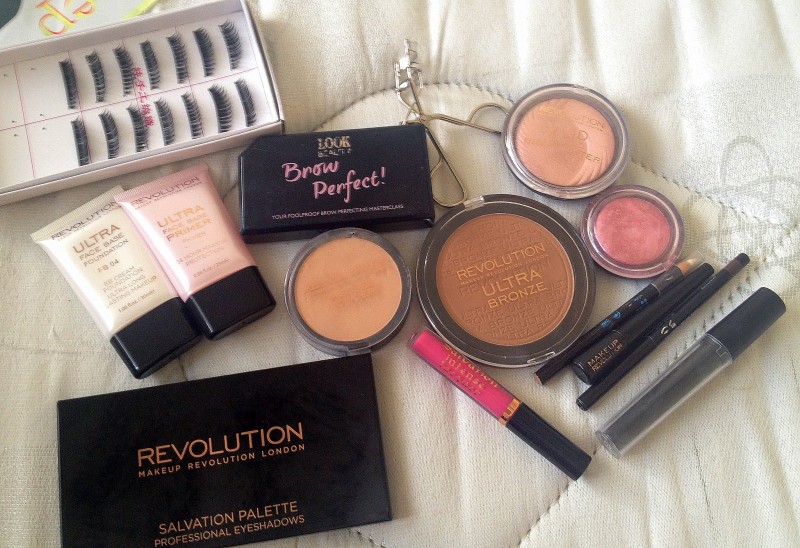
The products I used were all from Makeup Revolution, unless it states differently:
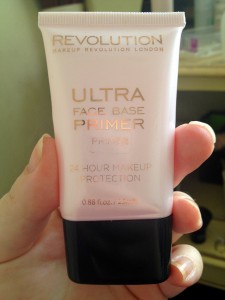
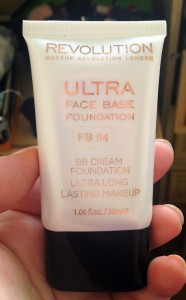
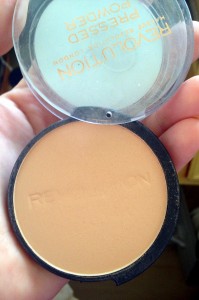
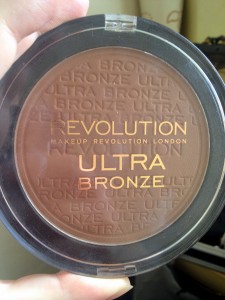
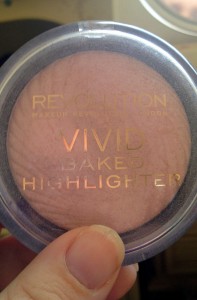
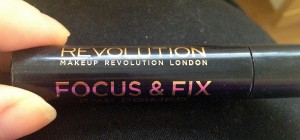
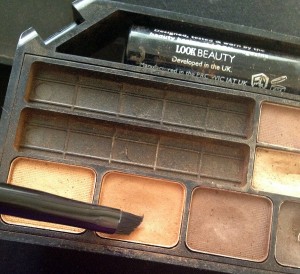
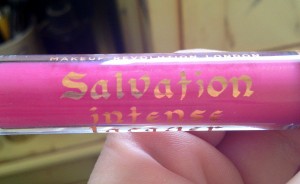
Ultra Face Base Primer Ultra Face Base Foundation (FB 04) Pressed Powder (Translucent) Ultra Bronze Vivid Baked Highlighter (Peach Light) Vivid Baked Blush (All I Think About Is You) Salvation Palette (Dia De Los Muertos) Amazing Volume Mascara (Black) Focus & Fix Eye Primer (Original) Liquid Eyeliner (Black) Salvation Intense Lacquer (Didn’t I Tell You) Avon Glimmerstick Brow Definer (Dark Brown) & Colour Trend Pencil Play Eyeliner (White) Look Beauty Brow Perfect Palette Lashes from eBay
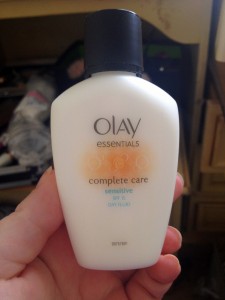
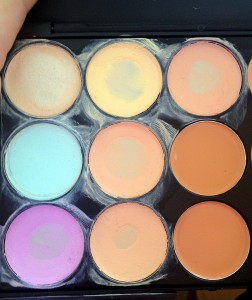
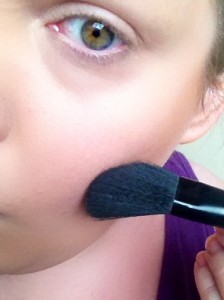
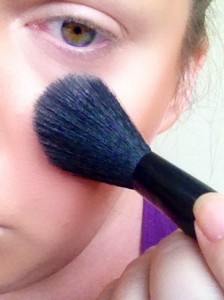
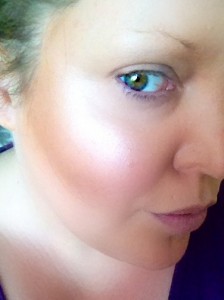
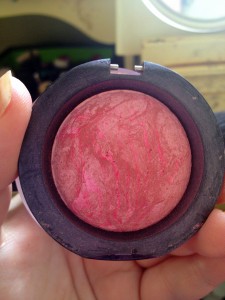
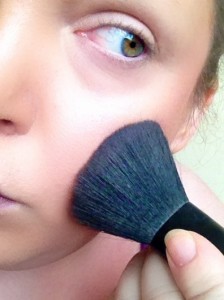
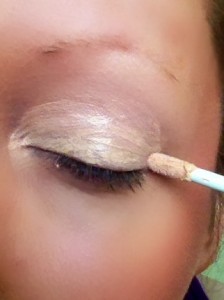
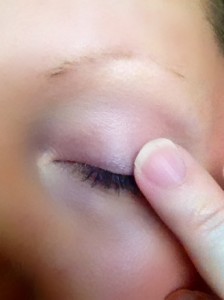
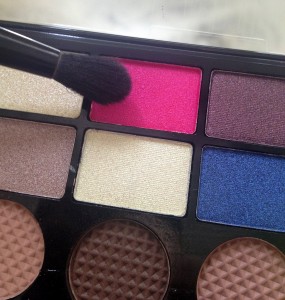
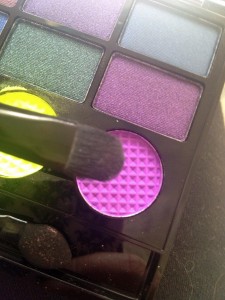
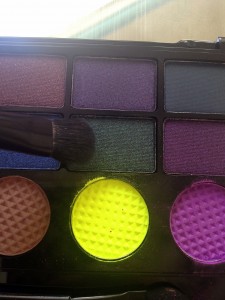
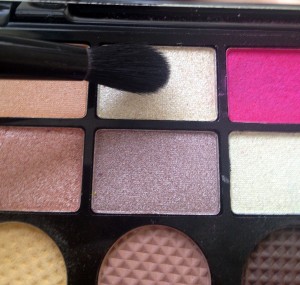
The Products usedMy favourite pre makeup moisturiser.Don’t forget to prime!Yes, I applied concealer BEFORE my foundation for this look (I used the purple under my eyes and the 3rd one on the top row over that)I find this foundation works better if you blend it in with your fingers. Where I needed a little extra coverage I used the “tap” method.Personal preference. Once I am happy with my foundation coverage I set it in place with a pressed powder.Contouring bronzerUsing an angled brush, sweep this under your cheekbones and up towards your hairline (I also put it around my hairline and down the sides of my nose)Contouring ONLY done herePeach Lights HighligherUsing an angled/small powder brush, sweep this over the tops of your cheekbones and where the light hits. I go down the center of my nose and also put some on my cupids bow to enhance my lipsSee how it catches the light (and notice the contrast between the contouring and highlighting)“All I Think About Is You” Baked BlusherSweep this over your cheekbones to bring the contouring and highlighting shades together ***PRO TIP*** After I have applied my 3 cheek colours I take a large soft brush and sweep it in circular motions over the 3 products. This helps get rid of any excess product and also blends the colours together for a more “natural” finish, rather than having 3 lines of colour on your face.Cheek products before being blendedEye PrimerApply this all over the eyelid and slightly over your creaseThen tap blend it out with your fingerUsing a fluffy brush apply “There’s No Time To Waste” over the entire eyelid, up to and including the brow boneApply “Comeback Queen” through the crease and to the outer 1/4 of your eyelid (don’t worry about blending or making it super neat at this stage)
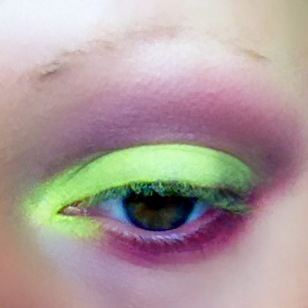
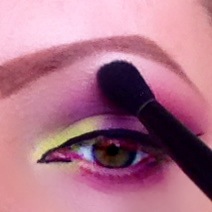
Load a fluffy brush with “Redemption Is Near” and apply over the top of “Comeback Queen” and blend out
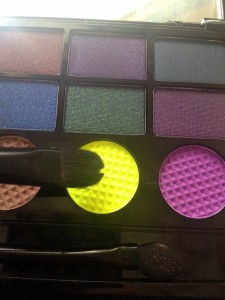
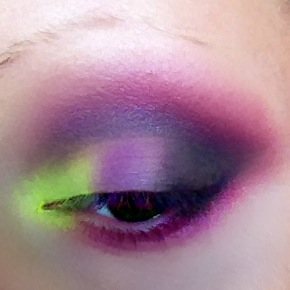
Also take “Redemption Is Near” underneath your lower lashes. Stop around 3/4 of the way inLoad a brush up with “Live With Passion” and apply over the eyelidTake “Live With Passion” right into the corner of the eye and underneath to meet up with “Redemption Is Near”Load “Be You” on to a brush and apply over the middle of your eyelid, pushing outwards
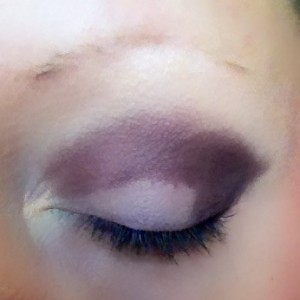
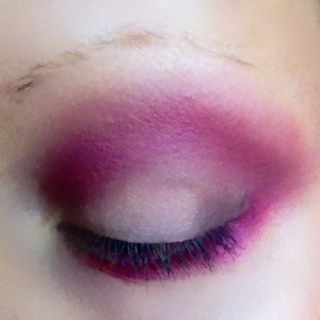
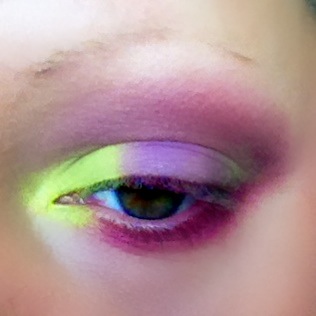
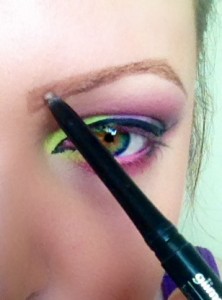
Apply “Or Get Busy Dying” to the outer 1/3 of your eyelid and blend through the crease to make a darker lineI then used what was left on the “Redemption Is Near” brush to soften out the “Or Get Busy Dying”Eyeliner. You DO NOT have to wing it out, this is personal preferenceThis is the stage where I do my brows. Skip this step if you have full brows.This is the stage where I do my brows. Skip this step if you have full brows.Take a clean brush and lightly sweep “Laugh More” across the brow bone, right under the brow and into and “blank” spaces on your eye. This will help bring the look together
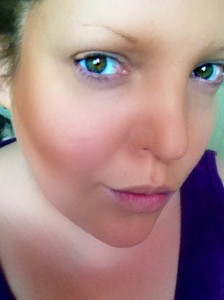
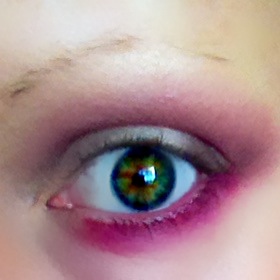
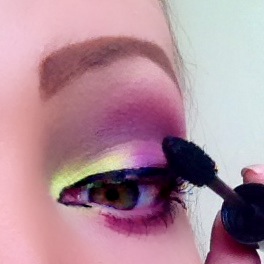
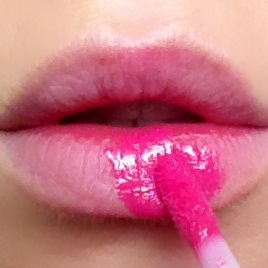
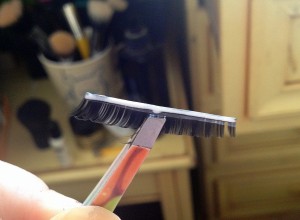
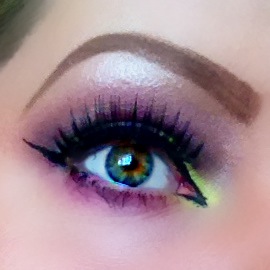
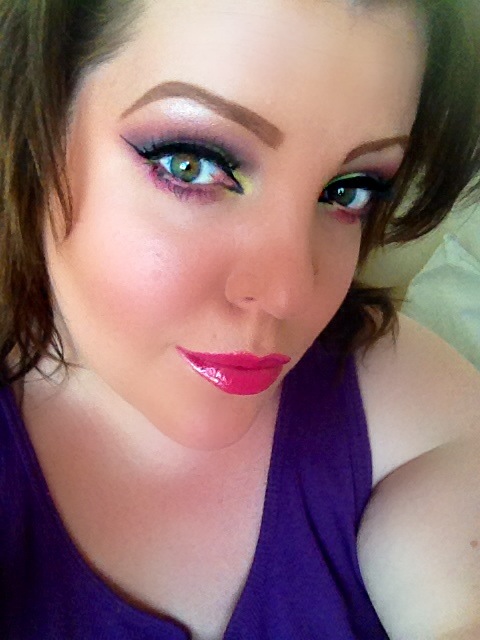
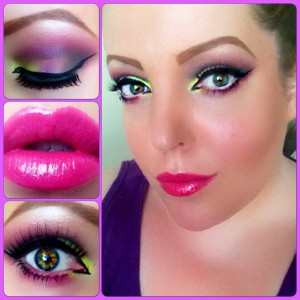
After applying “Laugh More” add as many coats of mascara as you wishWhile I am waiting for my mascara to dry I apply my lipgloss.While I am waiting for my mascara to dry I apply my lipgloss.Once my mascara has dried I apply my false eyelashes (this step is, of course, entirely optional)Voila! The finished eye look (I would also apply some white/nude liner to the waterline but I was really struggling with watery eyes today because of hayfever and did not wish to aggravate them further)The finished “carnival inspired” look.My “Face Of The Day” post from Instagram for this look
I really hope you like this look and found this pictorial easy to follow.
Until next time, stay beautiful. Gem x
DISCLAIMER
All of the views expressed within this post and on this website are mine and mine alone.
I am in no way affiliated or financially involved with Makeup Revolution, MediChem International or any of their employees.
All of the products used for this look are mine and were bought and paid for by me.
All of the images in this post are taken by me, unless stated otherwise. PLEASE DONOT take, display, edit or otherwise use any of the images herein without my prior knowledge and express written consent.